Tuesday, March 11, 2008

The Basement is Done (Well, almost...)

With a few noteable exceptions (trim, countertop, accent painting, etc.) the basement project is done!! Last week Vanessa sanded and stained all the bare oak, then varnished some of it. We got a great deal on carpet this weekend past, brought it home in the Escape, and I installed it. What a difference!! We also picked up a 300W home theatre DVD system for $65, an open box special at Zellers, and I installed that as well. Just last night I put the suspended ceiling in the low section that covers the ductwork. For now it is useable space. In time we'll finish the outstanding issues... Here are some pictures: Me installing the carpet.
Here's the TV Murray and Judy gave us, in the finished cabinet.
The Schmidt's Beer sign is all lit up.
The old Ikea furniture fits nicely down here.
Soon the old IMAC will get hooked up to the 'net. Vanessa may even start painting again!

Sunday, February 17, 2008

The Basement - Grouted and Painted

With a few diversions (working on Stacey and Bryon's bus, camping - check the other blogs for details...) we've been progressing steadily on the basement. The last post showed the tiled floor pre-grout. I took care of that handily one morning - there's a sample picture below. For the full effect, come visit us soon. After that was done I needed to finish the back door landing area. I tore out the drywall and continued the tongue and groove pine by meshing new, thinner stock into the old T&G that is original to the ancient back room addition. It was also a good time to wire in an overhead light in that area and combine it on the switch for the lights in the stairwell.

I also began the arduous process of painting, my least favourite endeavour... I've captioned the images below, so I'll spare the rhetoric here:
Here's and example of how the grout looks. This was easier than I remember, and with Vanessa's help the job was done quickly, using only the two bags of sanded grout mix I purchased originally.
The picture doesn't do this feat justice. I'm standing on a 16' extension ladder, about 75% extended, with its feet on the stairs and the top resting in the top of the stairwell. I'm priming the old, smelly, stained tongue and groove with KILZ primer.
My belly is particularly stunning here. It's a 14' drop straight down from where I'm working.
As soon as I was done up high I moved the ladder and finished things with a thick roller on a pole.

Ultimately this area (the T&G, brick, and new pine at the back landing) used one gallon and and additional quart of the oil based stain-blocking and smelly primer.
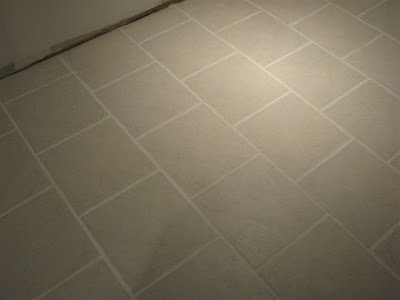
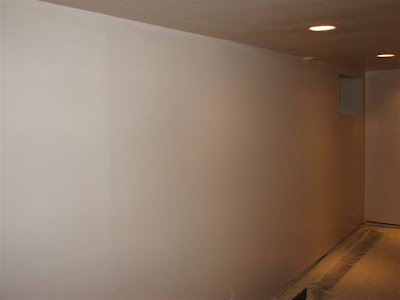
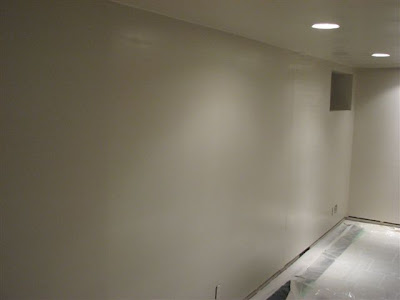
Using a roller I primed all the new and remaining old drywall using close to five gallons of latex primer. After the four hour priming extravaganza, I broke down and rented a professional paint sprayer from Home Depot.

This thing can blast paint at over 1500 PSI!

It was especially handy on the uneven surfaces.


The unit picks up the paint right from a 5 gallon pail.
My bald spot is getting bigger with every project I take on.
Though one coat covered perfectly, it took close to nine gallons of paint. Good thing we used the cheap stuff!


Wednesday, January 30, 2008

The Basement - Tile Installation Done (sans grout)

As of tonight the ceramic tile installation phase is complete. Grouting comes this weekend. Over the course of a couple weekends and weeknights I used 407 tiles, 6 50LB bags of modified thinset, and a lot of patience. I've captioned the pictures below for some details: We bought an entire skid of tiles from Home Depot. I passed them from the trailer into Vanessa through the window. There is now 13 boxes left.
This picture shows my $55 wet tile saw from Princess Auto. It got plenty of use for the intricate cuts. I am selling it to my friend Tom now for $25.
Tiling the stairs was a calculated risk. My new staircase was constructed with three runners and heavy boards for this purpose. I also nosed the edges with oak (routered with a roundover bit). Obviously there is some moulding work left to do here.


This shot shows the stairs as well as another oak transistion on the left hand side of the image. This handles a 1.25" step down in the concrete. The oak strip is screwed right into the concrete with Tapcons.
This image shows the back entryway, which was also tiled in the same ceramic. Another oak transition was used to replace the old aluminum one. In time I will make a maple transition for the other side where it meets the hardwood.
Grouting comes this weekend... Yeah! (NOT)

The Basement - Drywall Done...

The last post showed the physical installation of the drywall. Ironically, despite being the physically harder part of the process it is no doubt the better part. The pictures below, taken a few weeks ago, show the results of no fewer than five big tubs of drywall compound, two rolls of paper tape, about 20 8' sections of metal corner beading, three coats on all joints and holes, and countless hours of sanding. Here are the results: