I also began the arduous process of painting, my least favourite endeavour... I've captioned the images below, so I'll spare the rhetoric here:
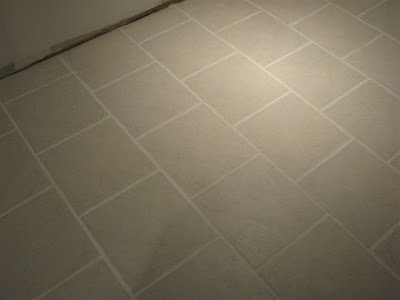
Here's and example of how the grout looks. This was easier than I remember, and with Vanessa's help the job was done quickly, using only the two bags of sanded grout mix I purchased originally.
 The picture doesn't do this feat justice. I'm standing on a 16' extension ladder, about 75% extended, with its feet on the stairs and the top resting in the top of the stairwell. I'm priming the old, smelly, stained tongue and groove with KILZ primer.
 My belly is particularly stunning here. It's a 14' drop straight down from where I'm working.
 As soon as I was done up high I moved the ladder and finished things with a thick roller on a pole.
 Ultimately this area (the T&G, brick, and new pine at the back landing) used one gallon and and additional quart of the oil based stain-blocking and smelly primer.
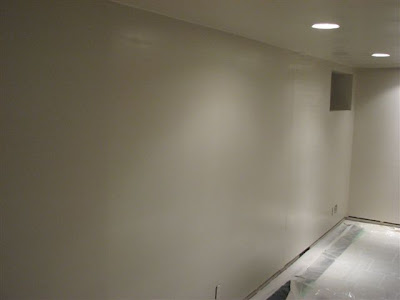 Using a roller I primed all the new and remaining old drywall using close to five gallons of latex primer.
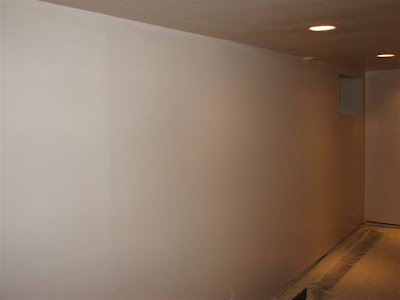
 After the four hour priming extravaganza, I broke down and rented a professional paint sprayer from Home Depot.
This thing can blast paint at over 1500 PSI!
 It was especially handy on the uneven surfaces.
 The unit picks up the paint right from a 5 gallon pail.
 My bald spot is getting bigger with every project I take on.
 Though one coat covered perfectly, it took close to nine gallons of paint. Good thing we used the cheap stuff!